Creating your first project
Create a project inside the organization, connect forms, and prepare the workspace for field activity.
Workflow
The standard setup follows six sequential steps. Each step builds on the previous one, so completing them in order avoids dependency errors.
- 1Register your account
- 2Create an organisation
- 3Create a project inside the organisation
- 4Create a form and attach it to the project
- 5Create user accounts for your field team
- 6Assign users to the project and the forms they will use
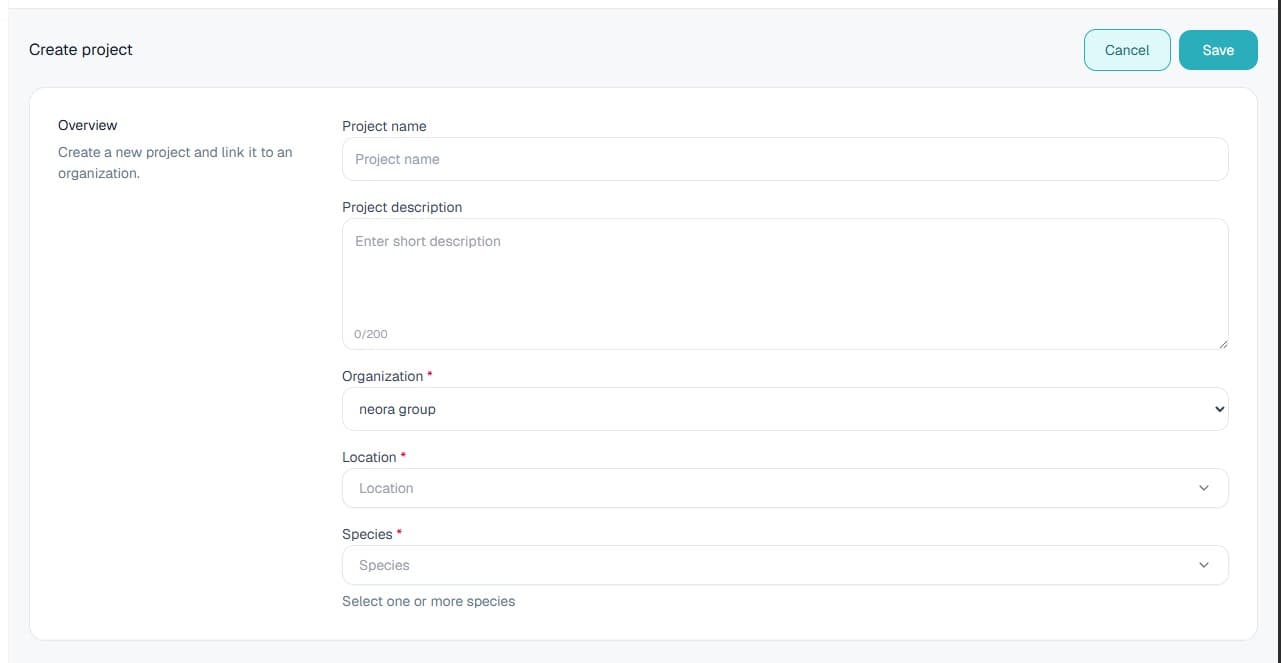
Create project
Projects group forms, users, and registrations together. Each project belongs to exactly one organisation. Create a project for each distinct field activity or study.
- 1.Select your organisation from the sidebar.
- 2.Navigate to Projects, then All projects.
- 3.Click Create new.
- 4.Enter the project name, description, location, and organisation.
- 5.Click Save.
Connect forms
After the project exists, connect the forms that the field team will use. Forms keep project submissions organized and make reporting easier later.
- 1.Open the project workspace.
- 2.Go to the forms area.
- 3.Create a new form or attach an existing one.
- 4.Confirm the form is visible inside the project.
Assign user
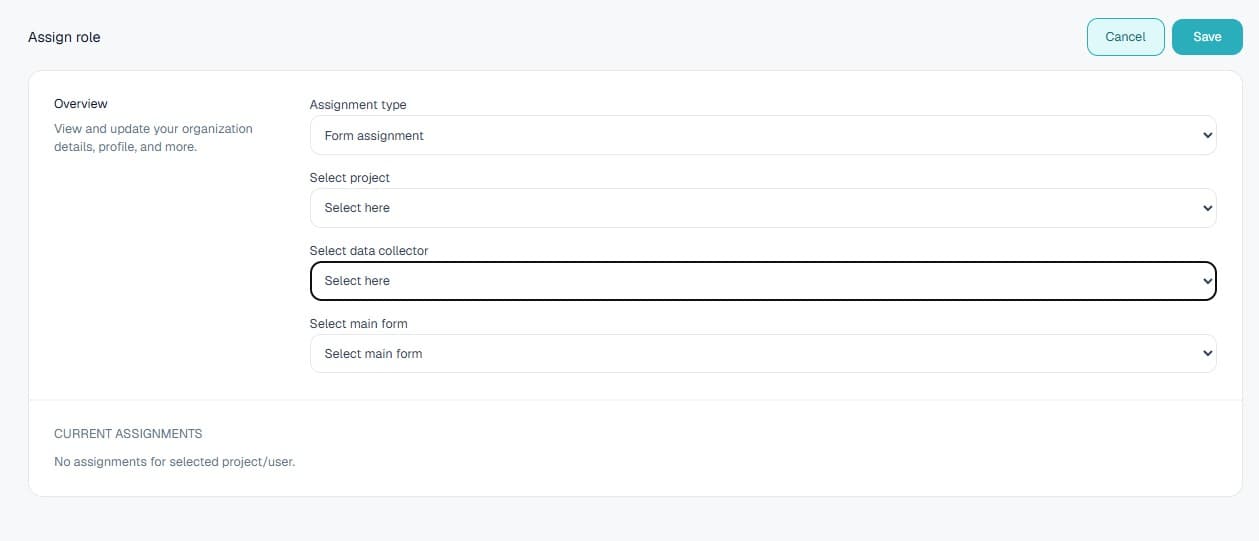
Assigning a user to a project gives them access to the forms and registrations inside that project. Data collectors must be assigned before they can collect data in the mobile app.
- 1.Navigate to User, then Assign user.
- 2.Select the project from the dropdown.
- 3.Search for the user and select their assignment type.
- 4.Click Assign.
Continue tutorials
View all
6 steps
Getting started with the platform
Follow the full setup path from account registration through organization, project, form, user, and assignment work.
Complete guide
Create your first form
Create forms from scratch or XLSForm, then build a complete questionnaire with data types, options, logic, constraints, groups, repeats, cloning, preview, validation, and save.
7-step guide
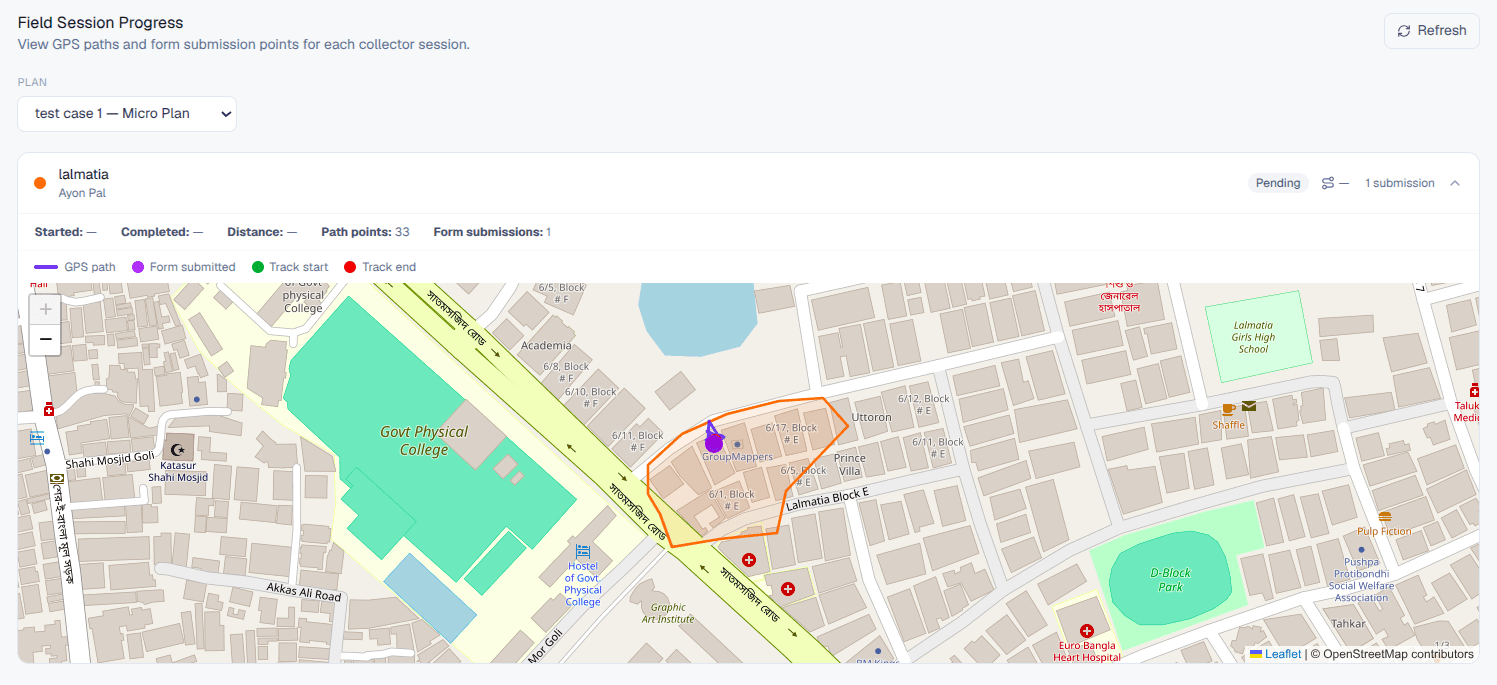
Microplanning: areas, assignments, and tracking
Enable microplanning, create or import geographic areas, assign field users, manage boundaries, and monitor progress from the overview dashboard.
Complete guide
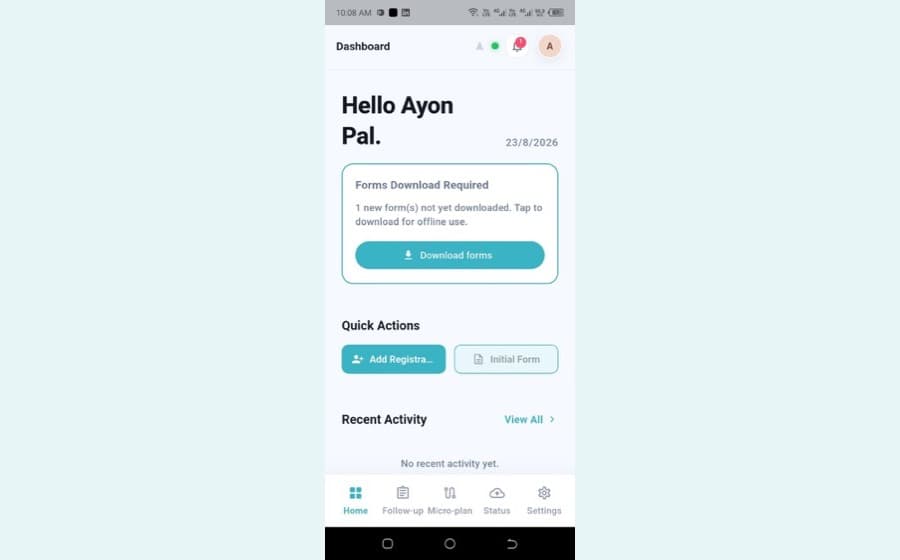
Mobile app user manual
Log in, grant permissions, read the dashboard and navigation bar, add registrations with NID capture, work through follow-ups, track microplanning areas, and check status and settings.