Getting started with the platform
Follow the full setup path from account registration through organization, project, form, user, and assignment work.
Introduction
ComMicPlan is a web-based data collection and management platform designed for organisations that need to build forms, deploy them to field teams, and analyse the resulting data. This tutorial follows the core setup workflow used by administrators, project managers, and data collectors.
Workflow
The standard setup follows six sequential steps. Each step builds on the previous one, so completing them in order avoids dependency errors.
- 1Register your account
- 2Create an organisation
- 3Create a project inside the organisation
- 4Create a form and attach it to the project
- 5Create user accounts for your field team
- 6Assign users to the project and the forms they will use
Register your account
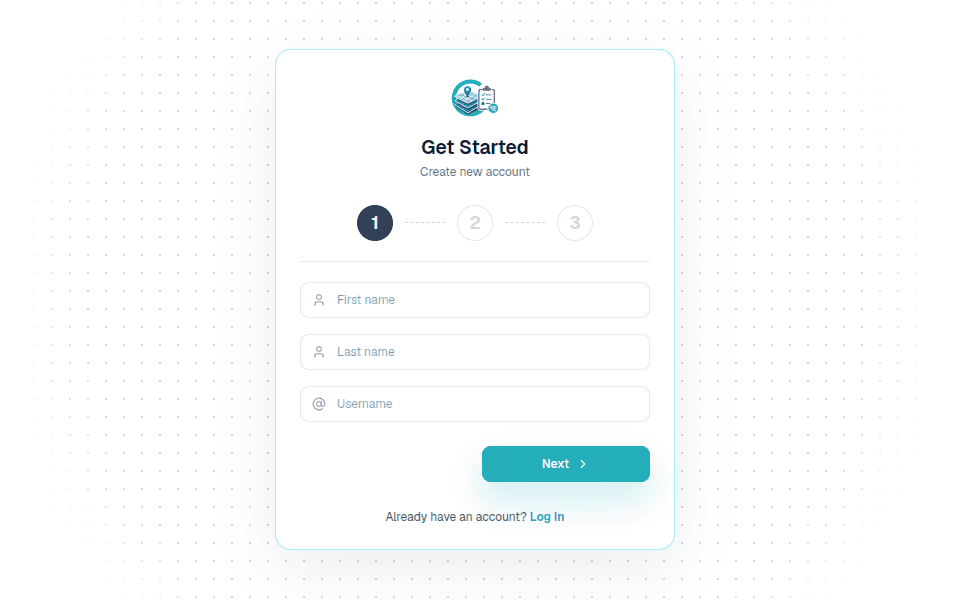
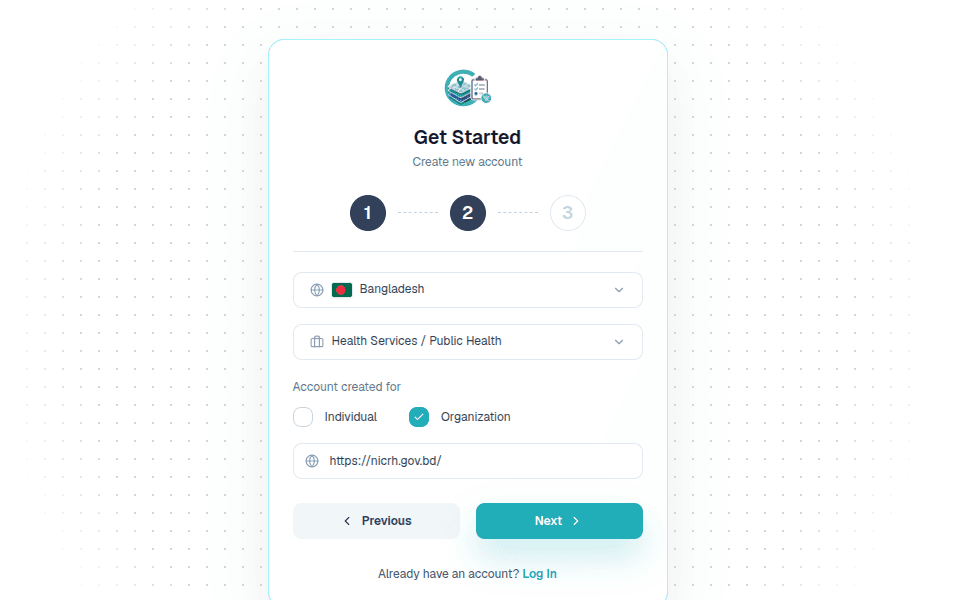
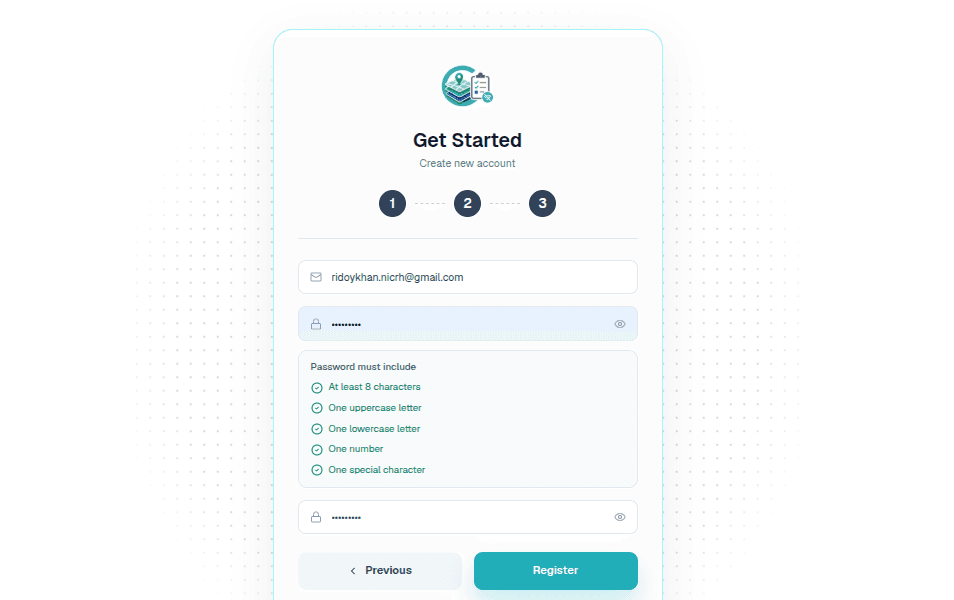
Start by creating your ComMicPlan account. Registration has three screens: your personal identity, your country and organisation profile, then your email and password.
- 1.Open the signup page and enter your first name, last name, and username.
- 2.Choose your country and sector, then select whether the account is for an individual or an organization.
- 3.If you selected Organization, enter the organization name.
- 4.Enter your email, create a password, confirm it, and click Register.
- 5.Check your email and verify the account before signing in.
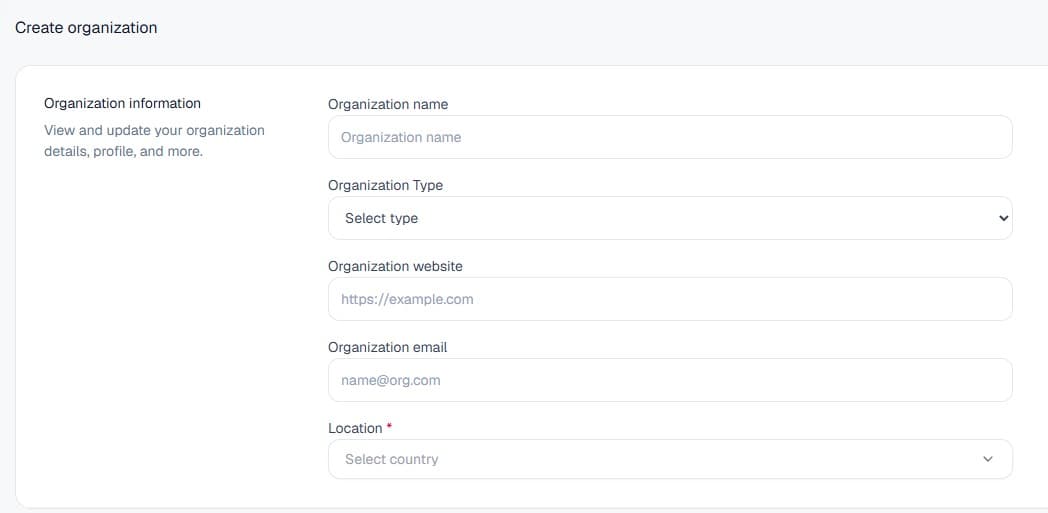
Create organisation
An organisation is the top-level container in ComMicPlan. All projects, users, forms, and registrations live inside an organisation. You must create at least one before anything else.
- 1.In the left rail, click Organisation.
- 2.Click Create new in the top-right corner.
- 3.Fill in the organisation name, type, website, email, and location.
- 4.Click Save.
Create project
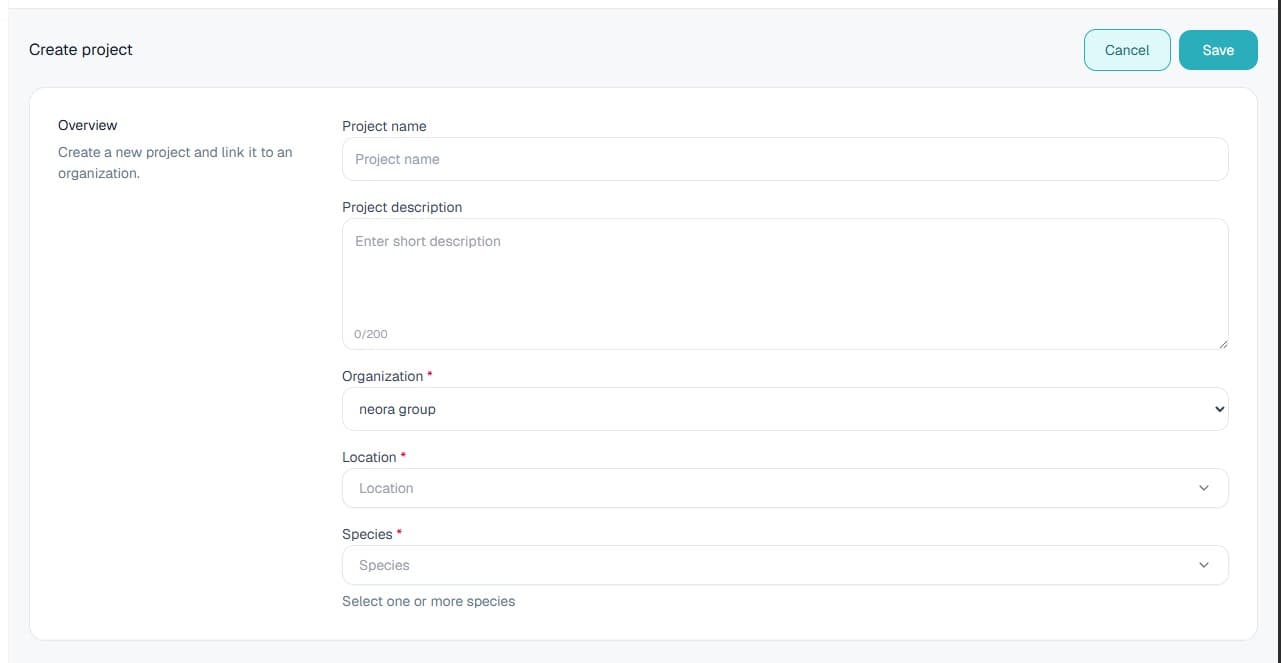
Projects group forms, users, and registrations together. Each project belongs to exactly one organisation. Create a project for each distinct field activity or study.
- 1.Select your organisation from the sidebar.
- 2.Navigate to Projects, then All projects.
- 3.Click Create new.
- 4.Enter the project name, description, location, and organisation.
- 5.Click Save.
Create form
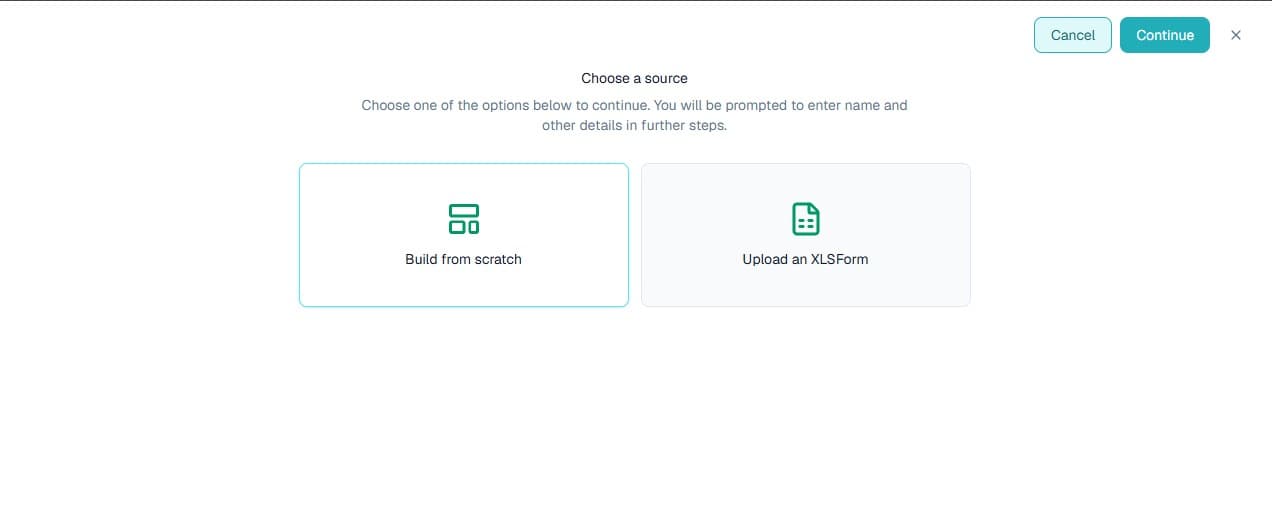
Forms are the data collection instruments your team uses in the field. Each form belongs to a project. You can build a form from scratch or import an existing XLSForm.
Build from scratch
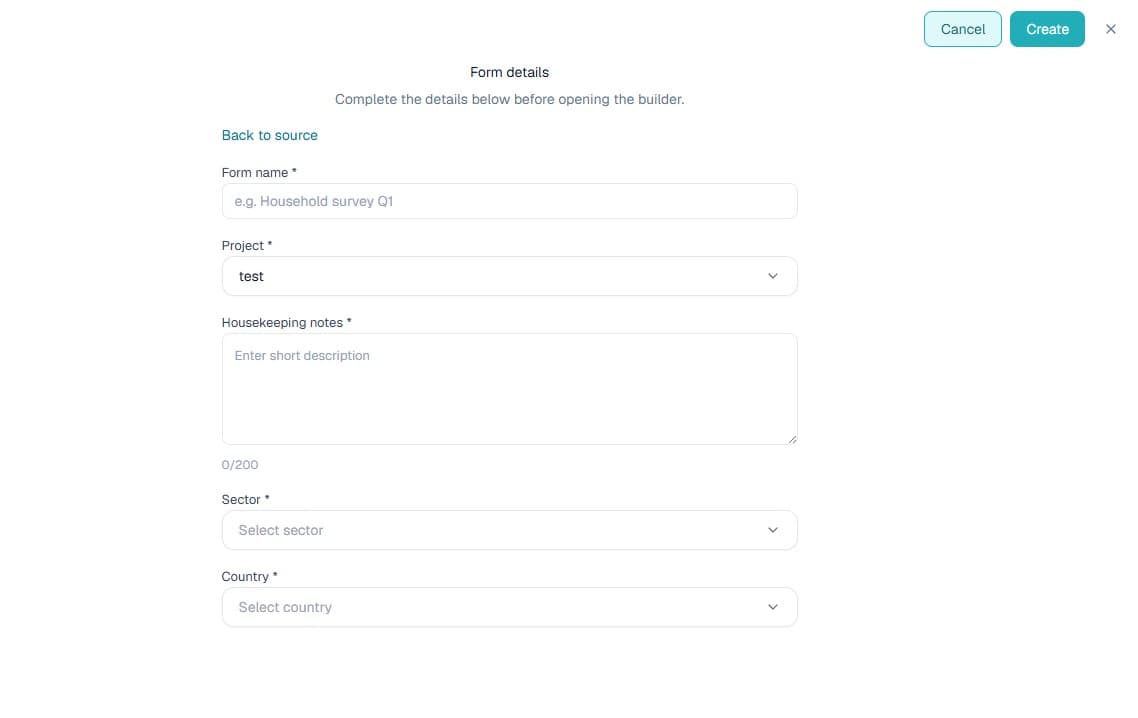
Use this path when you want to design the form manually inside the form builder. Add questions, choose response types, and configure logic directly in the browser.
- 1.Navigate to Forms, then Create form.
- 2.Choose Build from scratch.
- 3.Enter the form name and select the project.
- 4.Click Continue to open the form builder.
- 5.Add questions and click Save when finished.
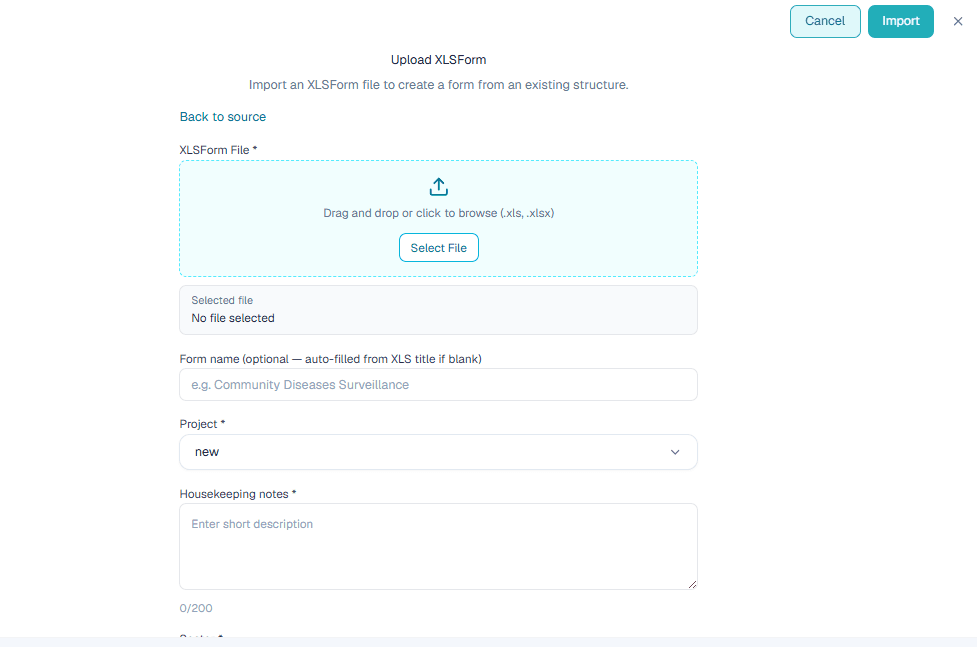
Upload an XLSForm
Use this path when you already have an XLSForm, such as a file exported from KoboToolbox or ODK. The file is parsed and converted into the ComMicPlan form structure automatically.
- 1.Navigate to Forms, then Create form.
- 2.Choose Upload an XLSForm.
- 3.Drag and drop or browse to select your .xlsx file.
- 4.Review the imported structure and click Save.
Create user
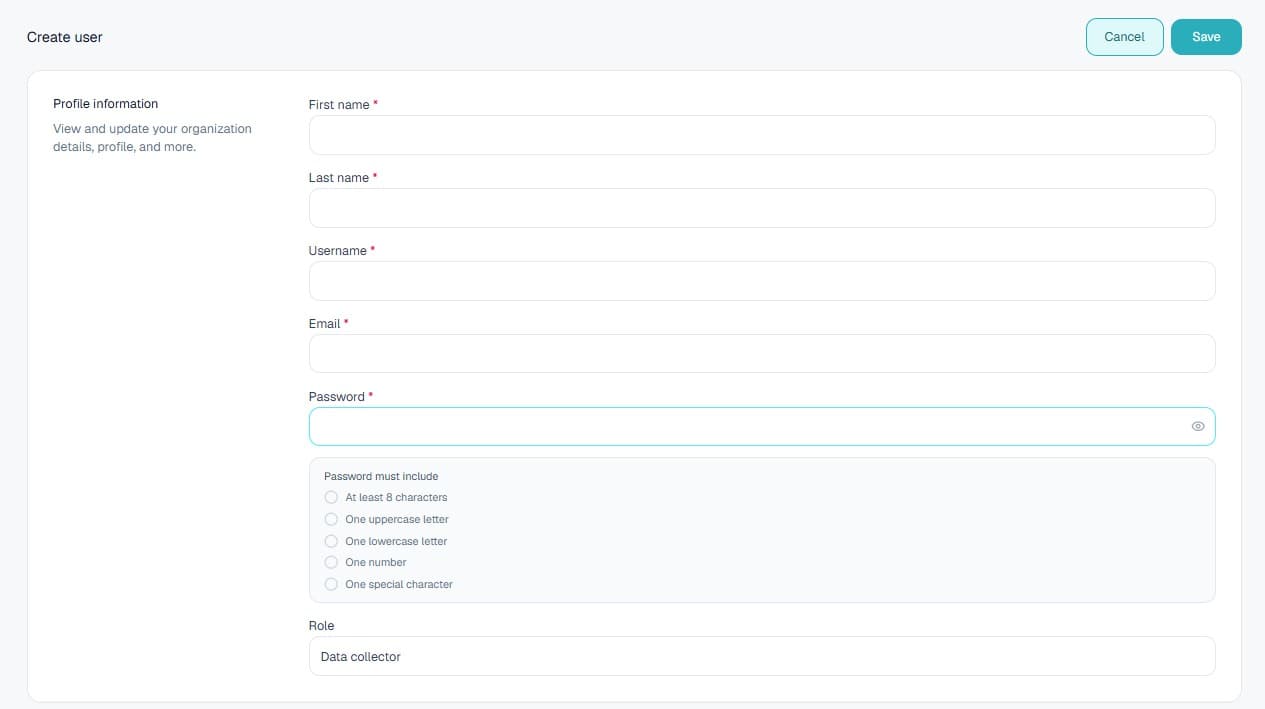
Create an account for each member of your team who needs to access ComMicPlan. You can assign roles at the organisation level; project-level access is controlled separately in Step 05.
- 1.Navigate to User, then Create user.
- 2.Enter the user's first name, last name, email address, and username.
- 3.Set a temporary password. The user can change it after first login.
- 4.Select a role and click Save.
Assign user
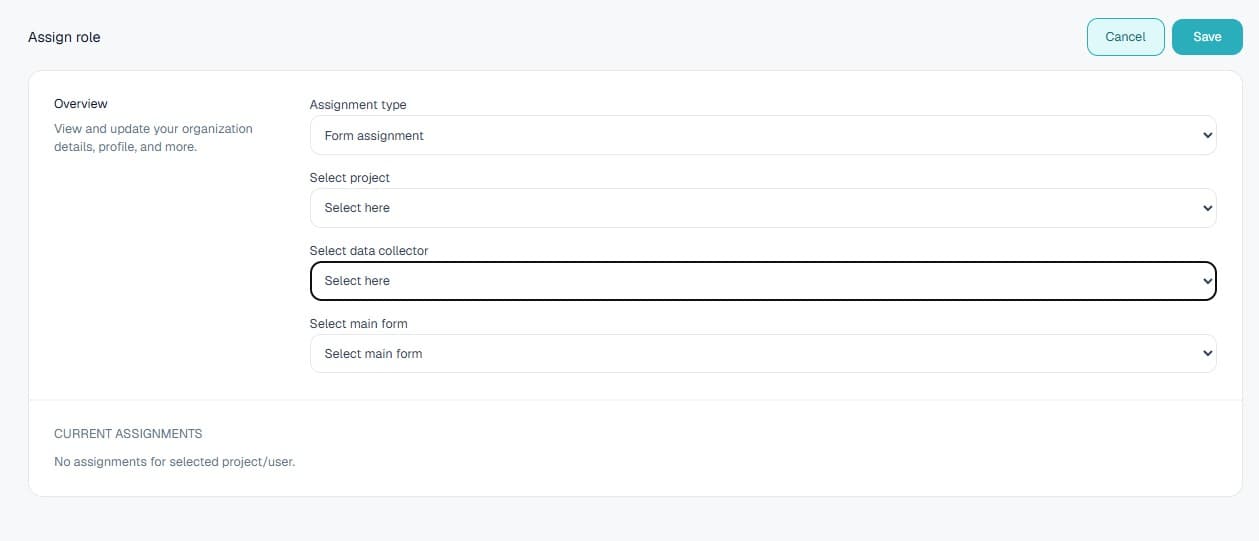
Assigning a user to a project gives them access to the forms and registrations inside that project. Data collectors must be assigned before they can collect data in the mobile app.
- 1.Navigate to User, then Assign user.
- 2.Select the project from the dropdown.
- 3.Search for the user and select their assignment type.
- 4.Click Assign.
Roles and permissions
ComMicPlan uses role-based access control. Admins can manage organisations, projects, forms, and users. Project managers can manage project-level work, while data collectors access assigned forms in the mobile app.
- 1.Use Admin for people who manage the full account.
- 2.Use Project Manager for people responsible for project setup and coordination.
- 3.Use Data Collector for field users who only need assigned mobile forms.
- 4.Review project and form assignments whenever someone cannot see expected work.
Tips and best practices
- 1.Create your organisation before creating projects.
- 2.Assign users to a project before asking them to collect data.
- 3.Use XLSForm import when migrating from KoboToolbox, ODK, or another compatible platform.
- 4.Ask field users to sign in with the same credentials used in the web portal.
- 5.Export data from the Downloads tab inside a form when you need an XLS report.
Continue tutorials
View all
3 steps
Creating your first project
Create a project inside the organization, connect forms, and prepare the workspace for field activity.
Complete guide
Create your first form
Create forms from scratch or XLSForm, then build a complete questionnaire with data types, options, logic, constraints, groups, repeats, cloning, preview, validation, and save.
7-step guide
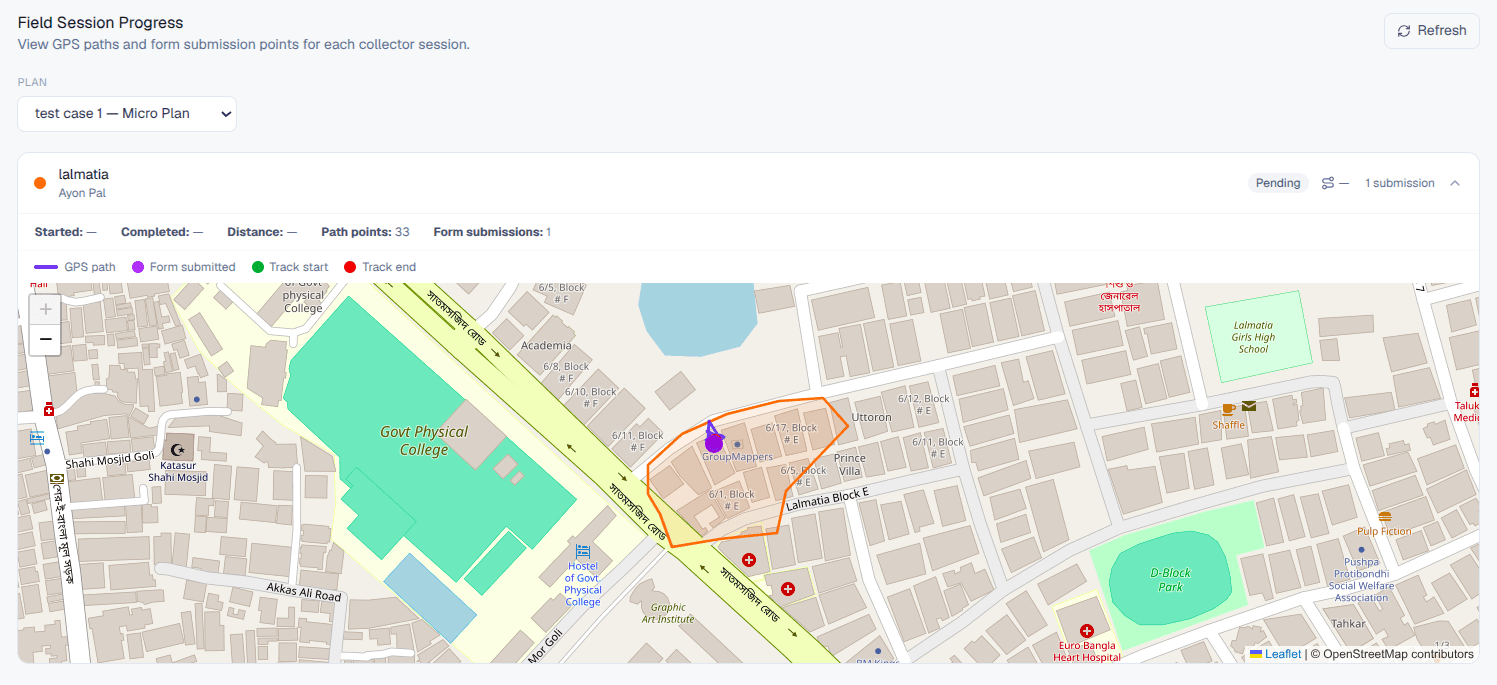
Microplanning: areas, assignments, and tracking
Enable microplanning, create or import geographic areas, assign field users, manage boundaries, and monitor progress from the overview dashboard.
Complete guide
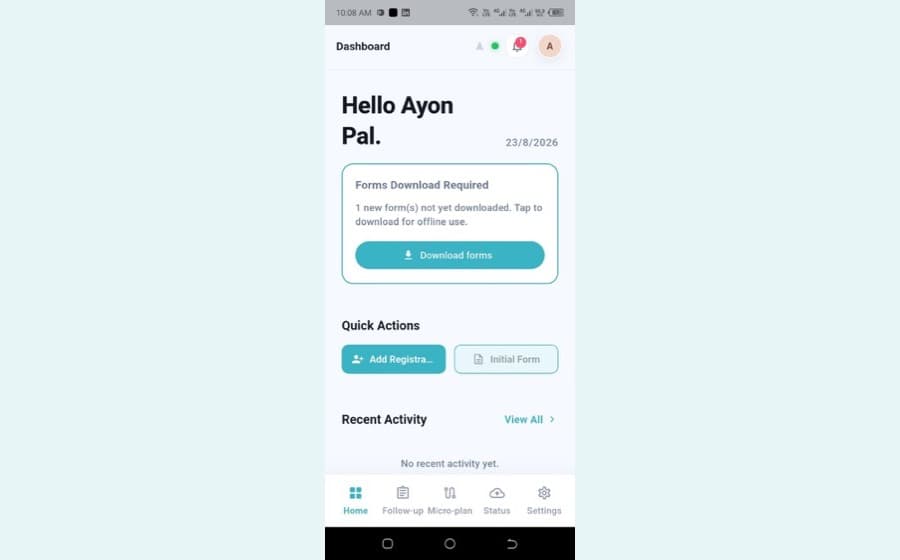
Mobile app user manual
Log in, grant permissions, read the dashboard and navigation bar, add registrations with NID capture, work through follow-ups, track microplanning areas, and check status and settings.